Configuring an EMV device is done on the EMV Stations screen, reached from the Interfaces Maintenance menu page.
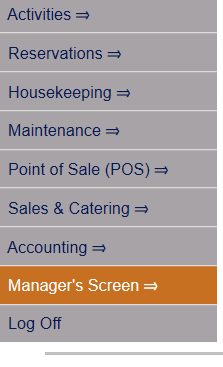
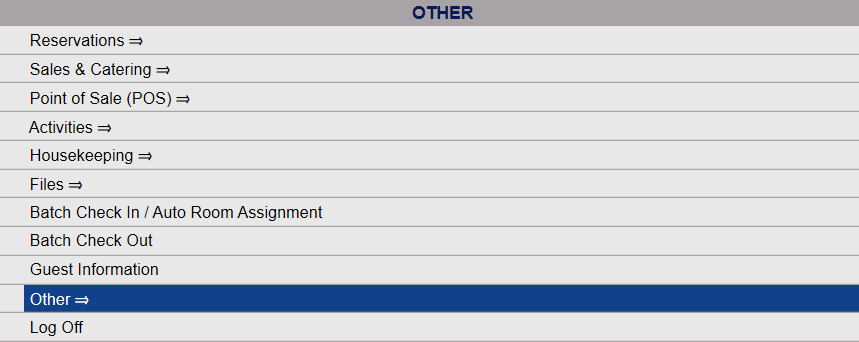
Select Managers Screen from the Quick Menu on the left side of the screen, to be taken to the Manager's Commands Menu screen.
 OR
OR 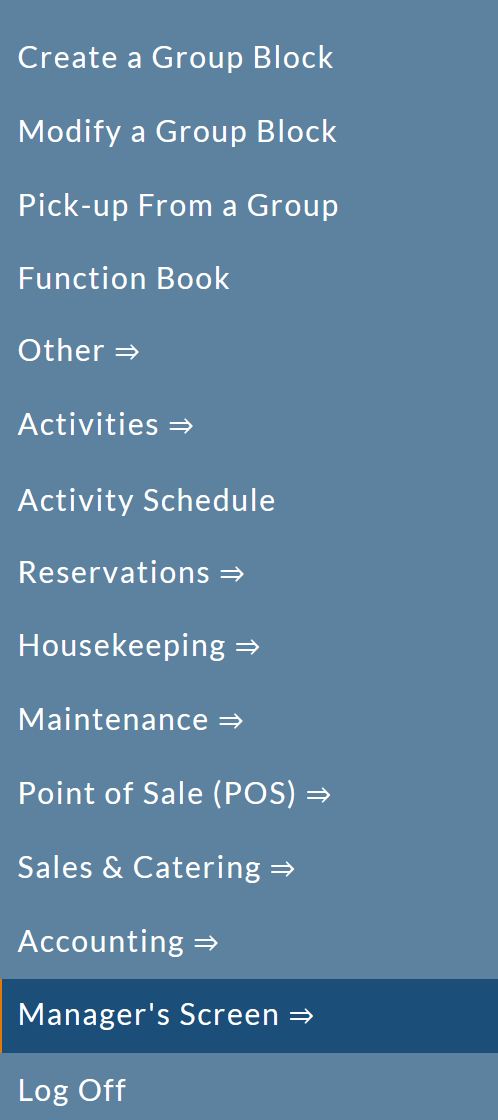
OR
 OR
OR 
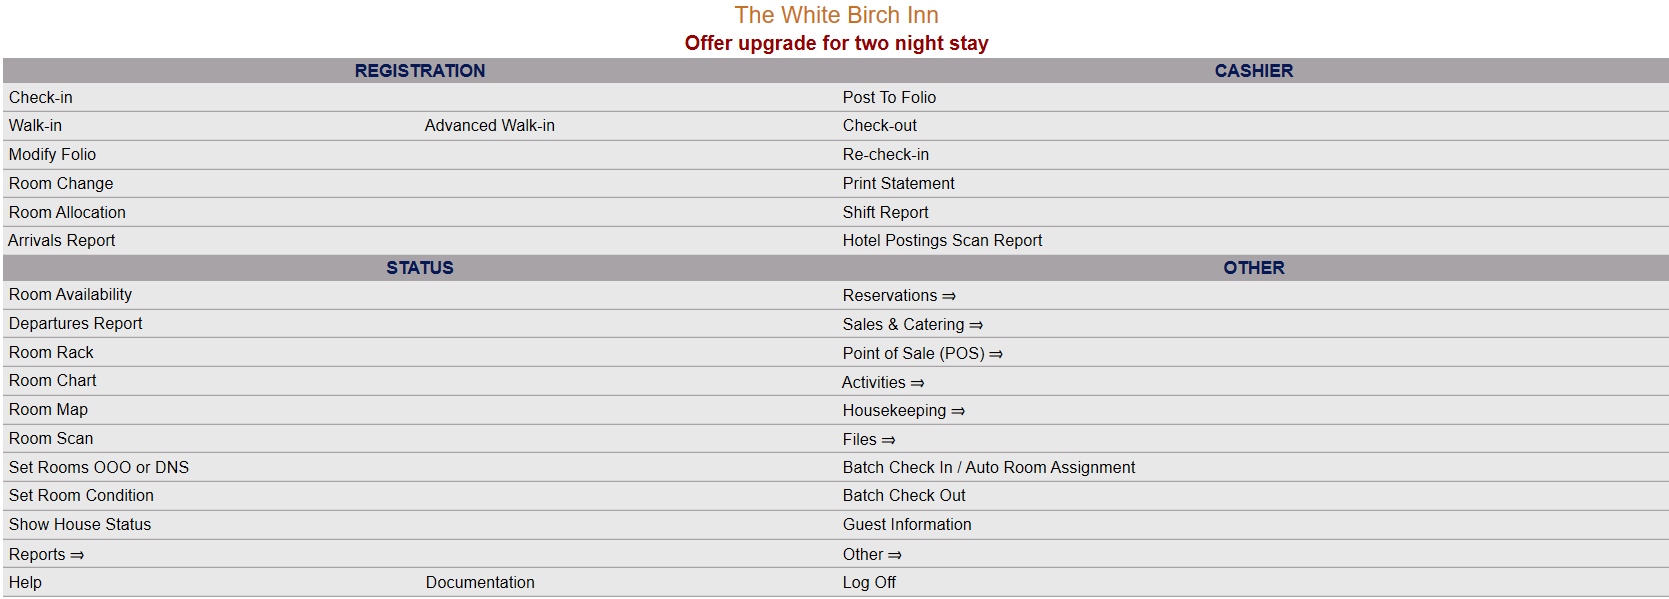
This will display the Full menu in a tabular form, with four sections, Registration, Status, Cashier and Other.
 OR
OR 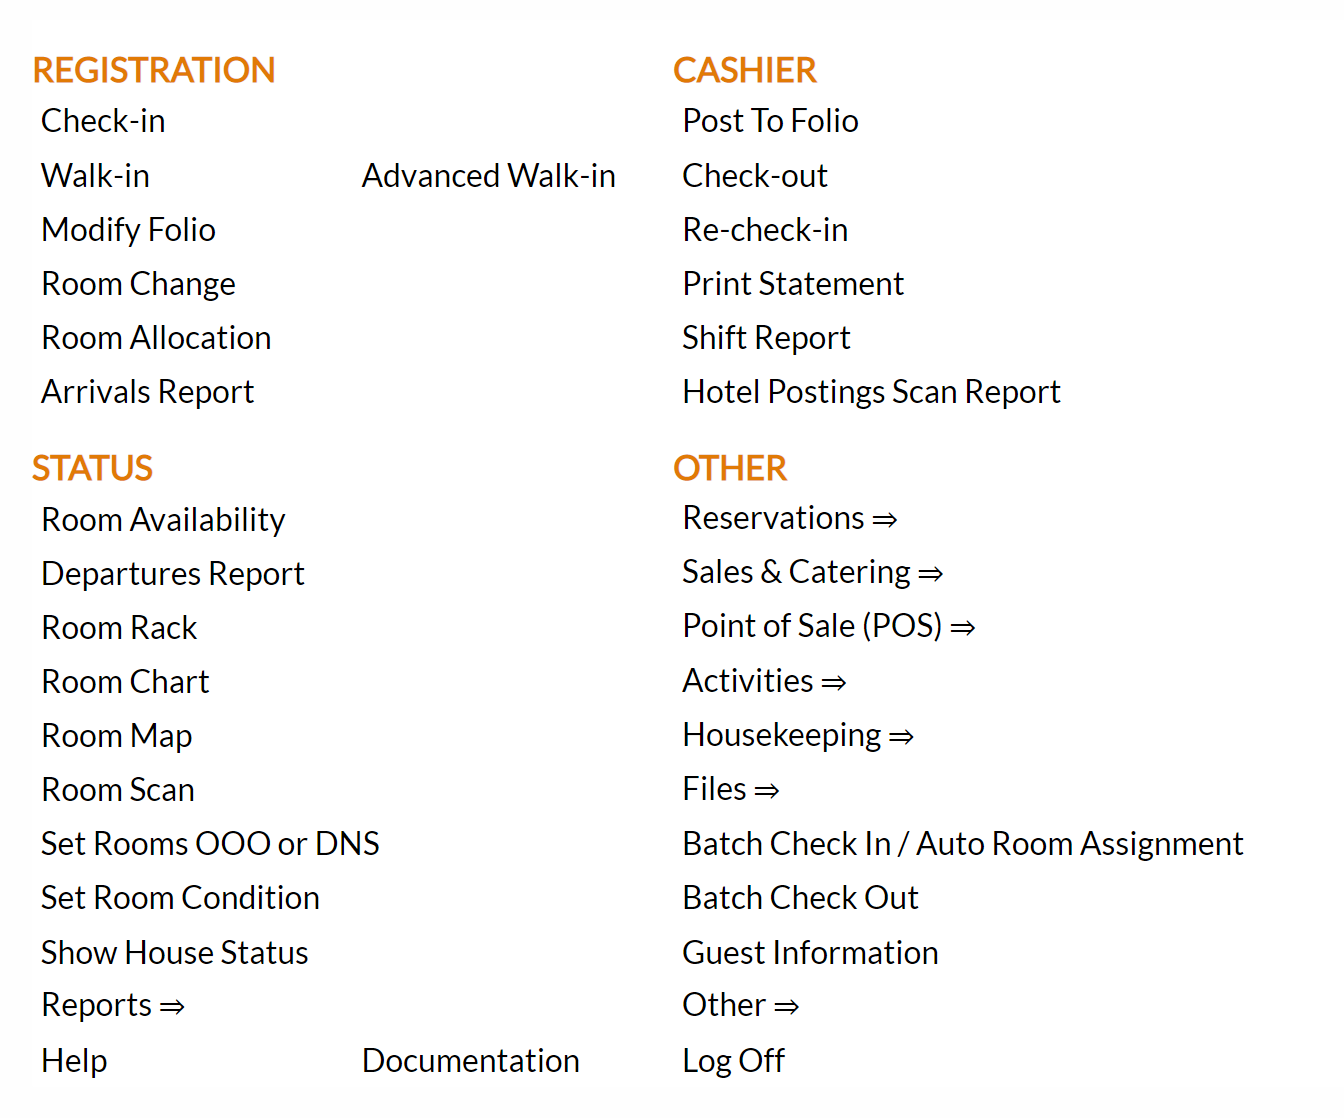
Select Other from the Other section.
 OR
OR 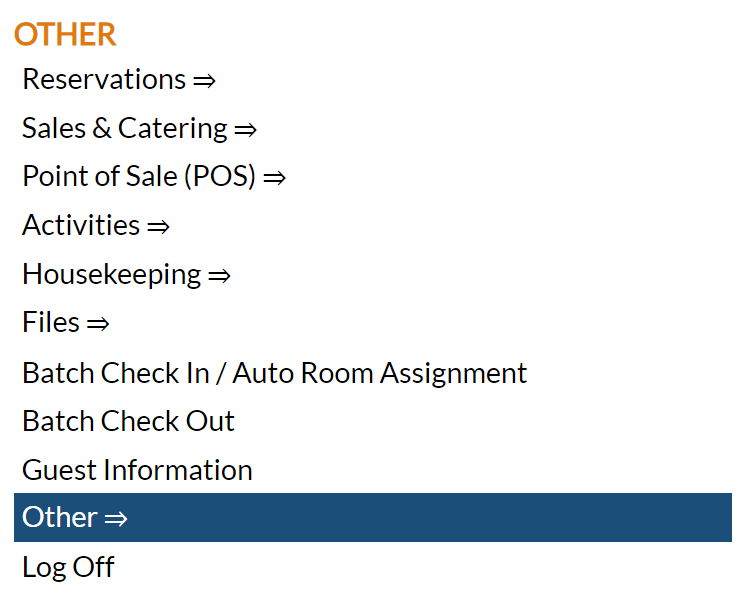
This will take you to the Other Front Desk Tasks Menu, which has four sections, Other List 1, Other List 2, Documents and Web.
 OR
OR 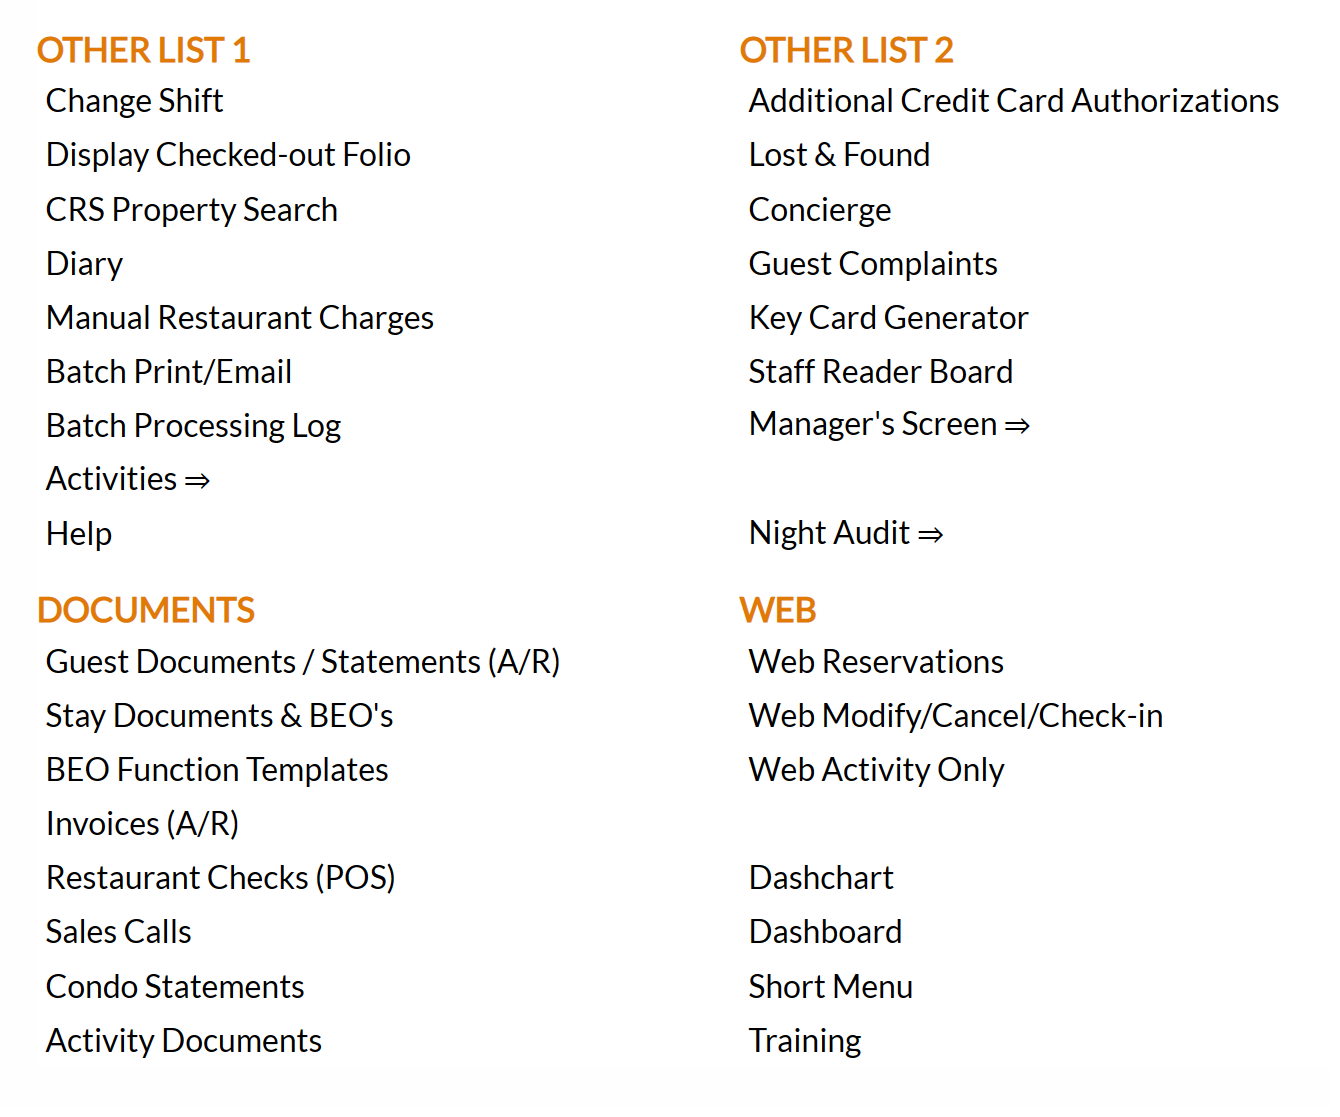
Select Manager's Screen to be taken to the Manager's Commands Menu screen.
 OR
OR 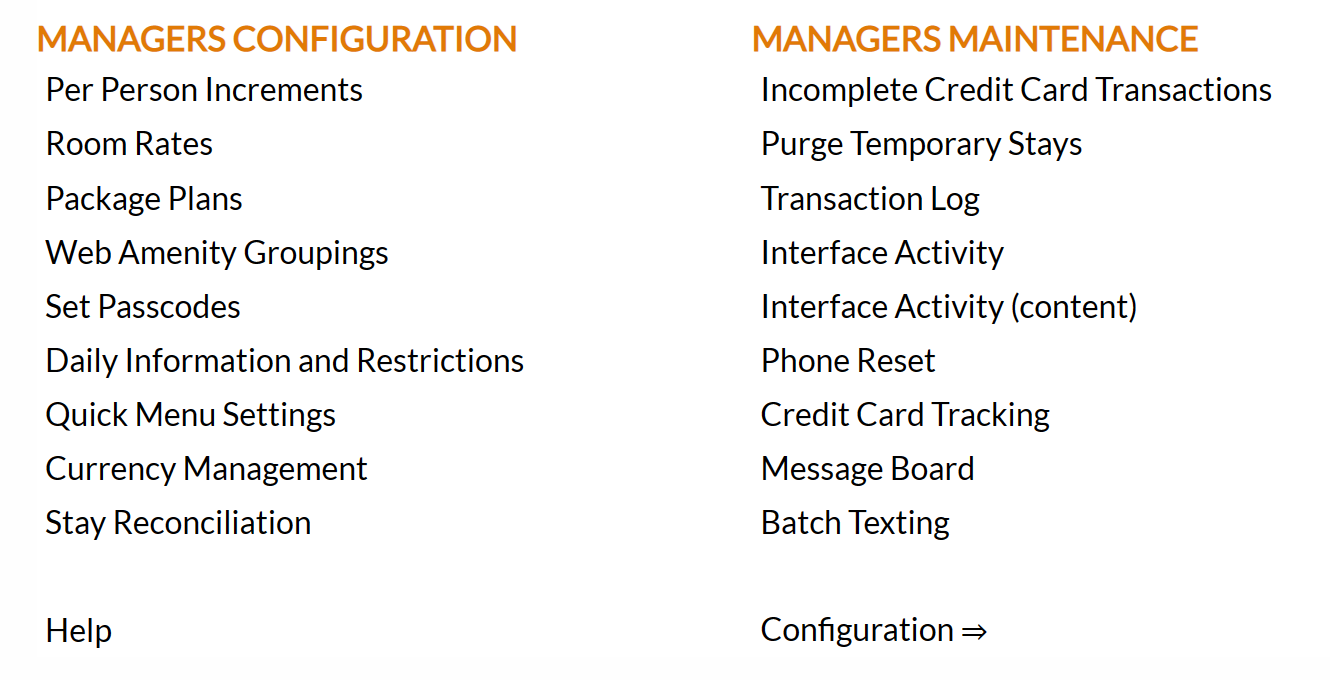
Select Configuration to be taken to the Property and System Configuration screen.
 OR
OR 
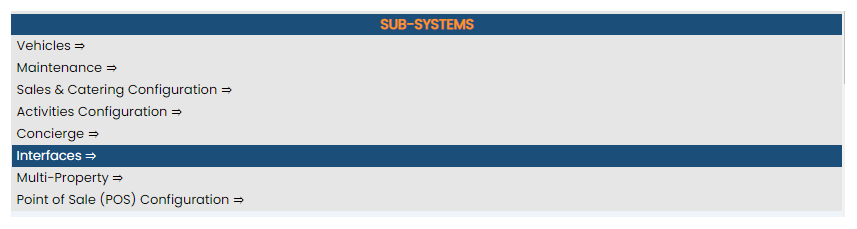
Select Interfaces from the Sub-Systems area of the screen.
 OR
OR 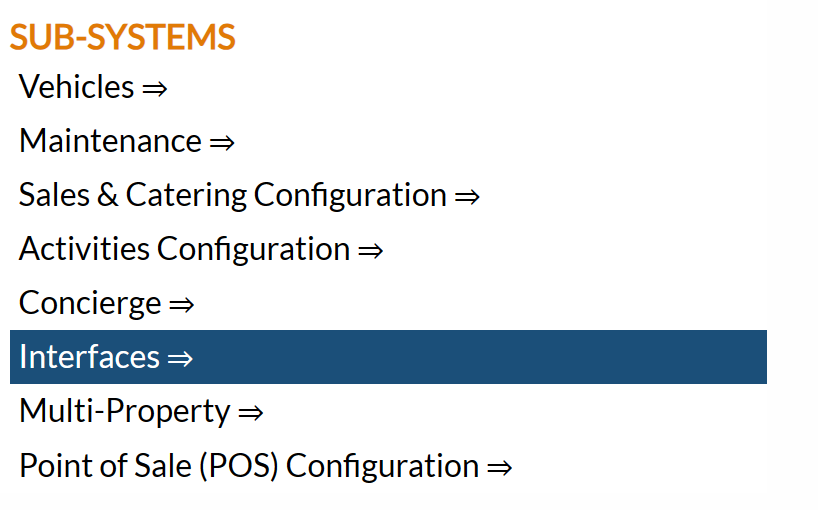
The Interfaces Maintenance Menu contains four sections, Channel Interfaces, Texting Interface, Other Interfaces and Other Interface.
 OR
OR 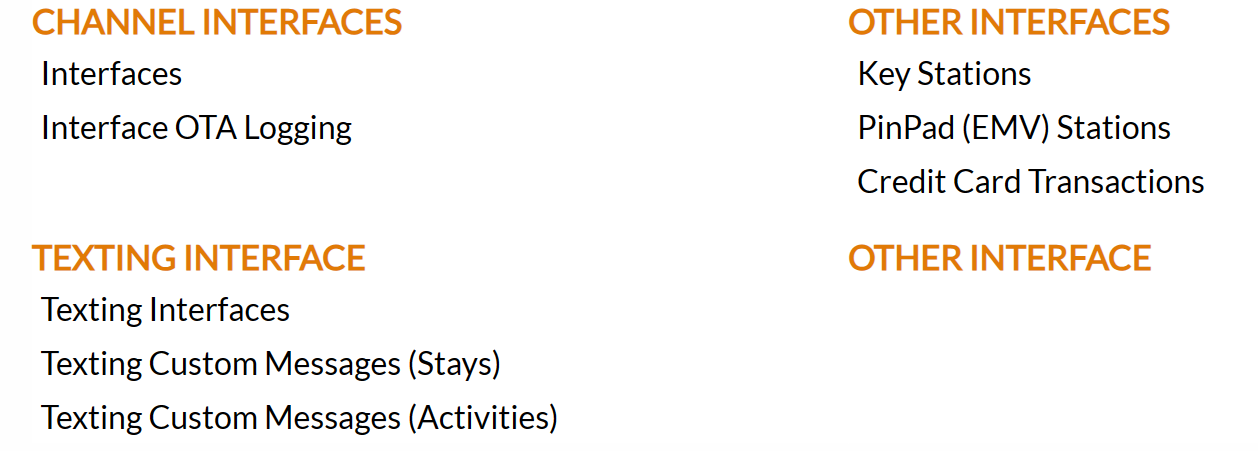
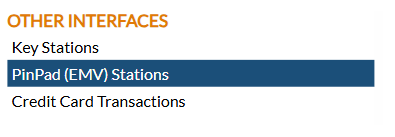
The command is in the Other Interfaces section of the menu. Select PinPad (EMV) Stations from the Other Interfaces section of the Interfaces Maintenance menu.
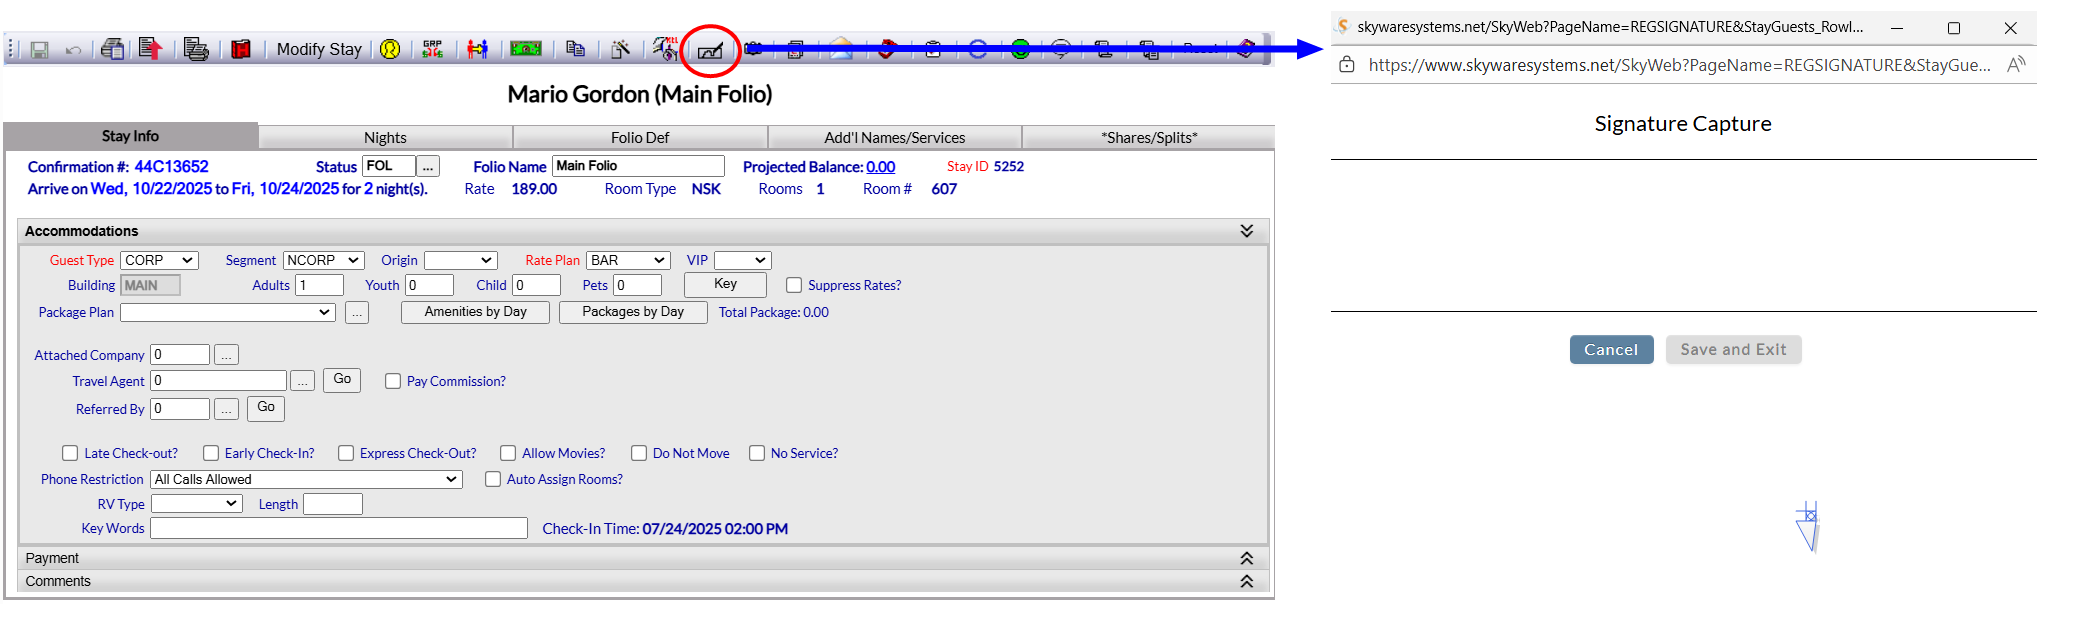
The PinPad (EMV) Stations screen display is split into two frames, with the left side of the screen listing any already configured PinPad (EMV) Stations for the property and the right side containing the fields you need to complete in order to add or edit a PinPad (EMV) Station for the property. Any changes made on the right, once saved, will be updated in the listings to the left.
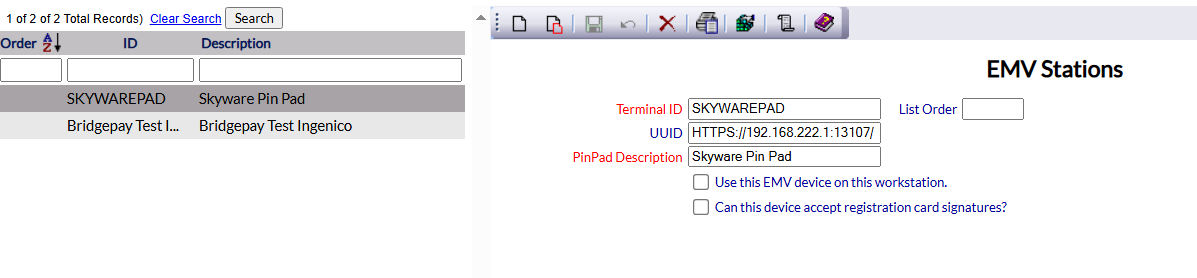
The currently configured options can be displayed by:
Order: List order, a numeric ordering,
ID: The Pin Pad (EMV) station Terminal ID,
Description: This is the description or location of the configured station, and can be searched by manually inputting the desired order number, ID or location.
Selecting any Pin Pad (EMV) station will display the details on the right.
Your options include the following:
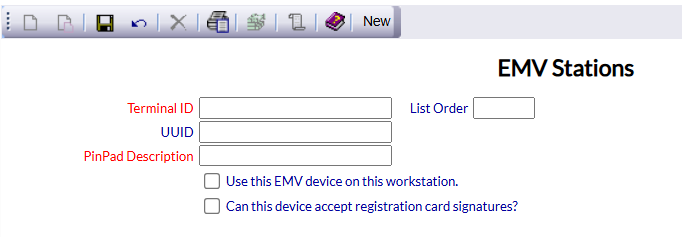
Generate a new entry:
Click the New  button from the toolbar to add a new Pin Pad (EMV) station.
Complete the fields described below.
OR:
Select an existing Pin Pad (EMV) station from the list on the left, and click the Replicate  button from the toolbar. Then change the field information as described below.
Edit the current selection:
Change the field information described below.
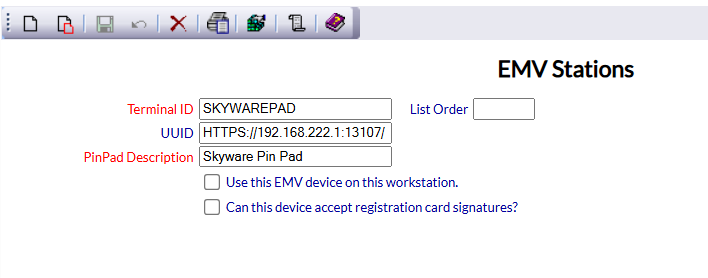
Enter information into the following fields:
Terminal ID: This field may be anything the Property wishes, BUT must be completed.
This field is required.
List Order: This determines in what order the Pin Pad (EMV) station appears listed in the interface.
Enter a number into the List Order field.
UUID: This field is how Skyware sees the device. Enter the UUID (may be found on the actual EMV device (via the green settings button, bottom right of machine screen) if not otherwise known).
PinPad Description: This is the description of the device, for staff to be able to locate it. Again, this field may be anything the Property wishes, BUT must be completed.
This field is required.
Note: This can be tested using the Walk In or Reservation screen; do NOT complete all the information but select the "Check In using PinPad" button at the top or bottom of the screen.

The EMV device should light up if working. If not, the Walk In or Reservation screen will display an error message at the top.
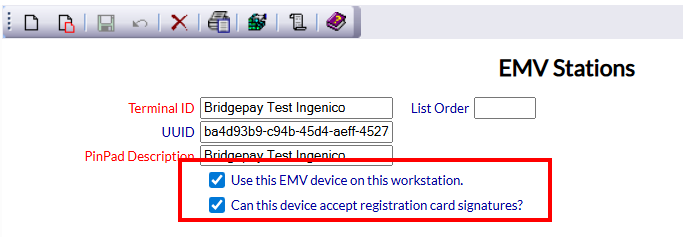
This allows you to designate the EMV device as the machine for use in capturing electronic signatures for the Registration Card.
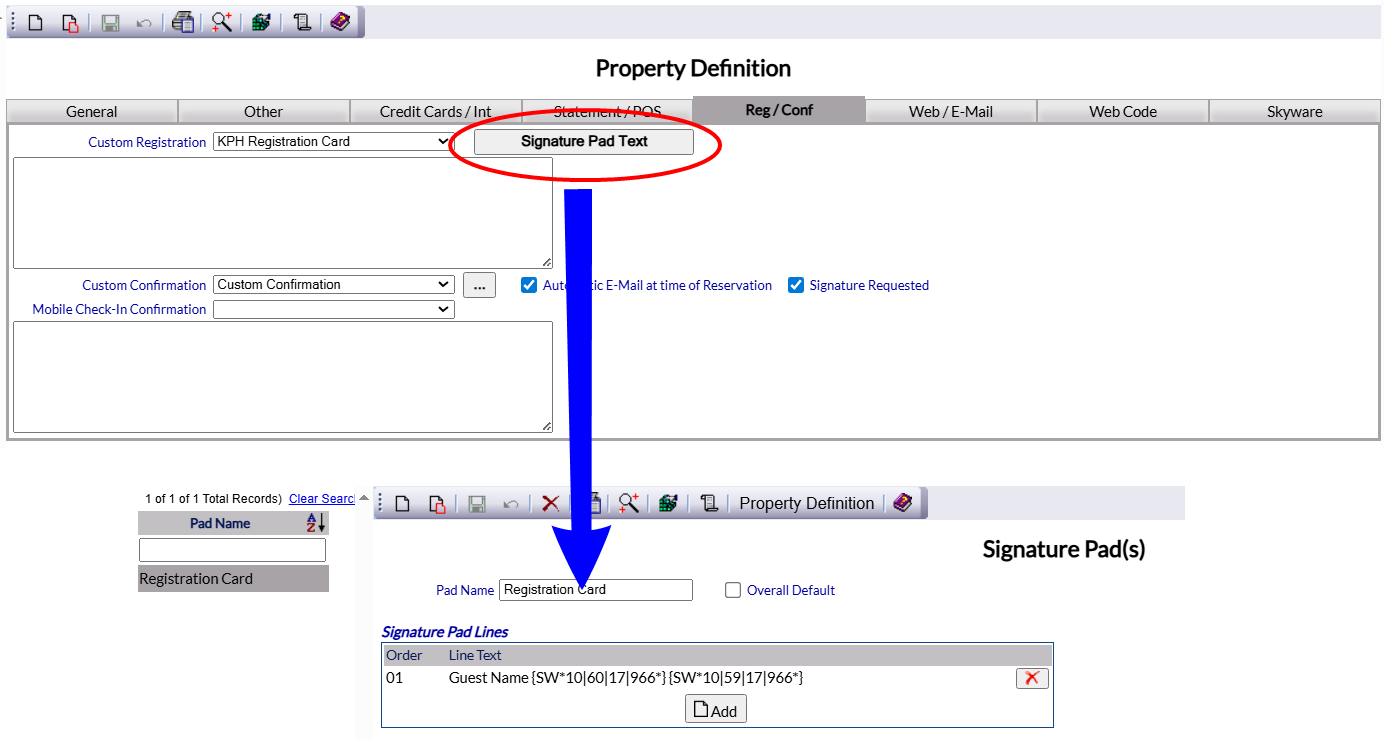
Note: The Signature Pad Text is set on the Property Definition screen Reg / Conf tab .
Note: On the Folio screen, clicking the electronic signature icon (a Folio tool bar icon ) allows you to activate the electronic signature capture machine for the guest to sign, then save a copy of the signature for your records .
When you are finished adding or editing Pin Pad (EMV) stations, click the Save  button to save the changes.
This will generate a new entry on the list to the left.
This must be done for EVERY EMV device.
To view any changes made, click the Activity log  button in the local tool bar.